Thresholding
Looking at the CT data is fun, but we all know this isn't the only reason for using CT scans. Let's make a three dimensional rendering of the data!
The process of selecting the "useful" parts of a CT image for further analysis (whether creating a 3D model, volume measurements, or whatever) is called segmentation. In Slicer, you don't change the actual slices, but create a "label" that is overlain on top of the image. The label is color coded to indicate what you're trying to segment - for instance, you might have all of the bone in blue and the endocranial cavity in red.
Slicer accomplishes all of its segmentation in the "Editor." To get there, go up to the top toolbar, and click on the drop-down menu next to "Modules:", and then select "Editor." The screen will change at the left, and you should see a whole new set of gizmos to work with.
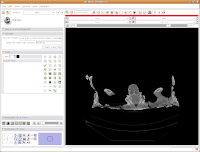
First things first, though. We'll want to name our label map. The default is "Working," but let's make it something more intuitive - so, type in "skull" as the label map name, and then hit the "Create Label Map" button immediately below the dialog box.
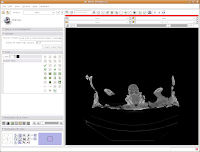
Things should chug along for a moment, and then you'll see the screen jump back to the default "middle" slice of the CT stack. This is ok - as you learned already, it's easy to navigate!
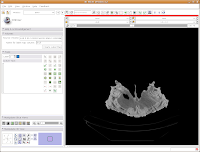
The first important thing to note is that at the left of your screen, under tools, you'll see a little blue box next to a box with "Label 1". This indicates the color of the label map that you're creating. If you want a different color, you can hit the up or down arrows, or click on the colored box to bring up all of the available colors. Try the latter approach.
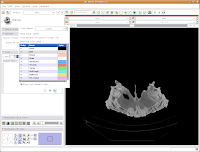
Then click on "Vessels," to change everything to a nice red. You'll notice all of the colors have funky, non-paleontological names. This is because the Slicer software was originally developed for biomedical applications, particularly brain imaging.
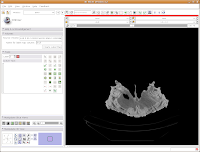
Now, we're ready to segment! There are all sorts of different ways to segment. . .you can outline each individual element on each individual slice (tedious after the first 20 or 30 slices!), use a "fill" tool to fill certain areas, or just a plain-old threshold. For starters, we'll use a threshold, because it's quick, easy, and useful.
You'll note a whole series of buttons on the left column of the Slicer program window. As you mouse over them, little labels will pop up to guide you. Find the one with a white-to-black gradient on it; it should say "Treshold" as your pointer passes over it. Click on it. Now, things start to look crazy!
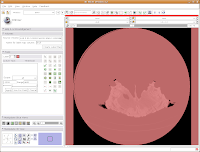 You'll see a pulsating red overlay on the CT scan image at right. . .everything that is in red will be segmented if you hit the "apply" button. But, you'll notice that lots of unnecessary junk is highlighted. To get rid of this, you use the slider bars at the left side of the screen. Just like with the windows and level dialog, you can also type in numbers. Slide the bar around until only the skull is highlighted, but not the CT gantry at the bottom of the image, or the air, or anything else. If found good results around a minimum of 560.51 and a maximum of 4691. While you play with this, you can slide back and forth through the stack, to see how the threshold works for the entire skull. You may have to adjust to find something that works throughout.
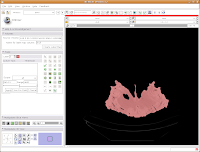
Now, hit the "Apply" button. Things chug along for a moment or two, and then it's all done! The threshold dialog will disappear, and your image is now thresholded.
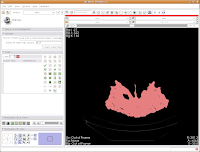
So, the whole image is now segmented. To prove this, you can slide back and forth through the stack of images, and you'll notice that the skull is colored in red throughout. But remember--unless you hit "Apply," your hard work for thresholding won't be remembered by the program.
Saving Face
You (and your computer) have been working pretty hard so far. Before we go any further, let's save your efforts. It's a good idea to save frequently, to protect yourself against data loss.
There are two important things you'll want to save so far. . .your label map (the information on how you segmented the skull) and the "Scene" file. The scene file contains information on all of the files you loaded so far - it makes it easy to quickly reload everything without having to load the CT data and label files individually. This doesn't sound like much at this stage, but it can get quite complicated when you have multiple volumes or label maps involved!
The latest versions of Slicer make it pretty easy to save your work. Under the menu at the very top, go to "File" and then click on "Save." The resulting dialog box has two main portions: Save Scene and Save Data.
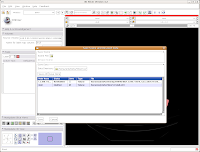
First, let's choose a name for our Scene File. Click on the little folder next to Scene File. A new dialog box comes up, and you can choose where to save the file. You may wish to create a new folder on your Desktop called "ankylosaur" to contain these files. I did this, by clicking the "create folder" button near the top of the dialog.
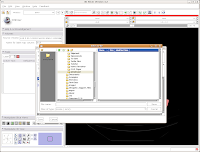
Then, I named my scene file "anky" (by typing this in the "File name:" box, and hit the "Save" button.
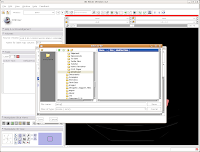
The scene dialog box disappears, and we're back to the previous "save data" dialog.
Under "Save Data", you'll see two listings, identified under "Node Name". One begins "1.2.840.113...", and this is the original DICOM file we loaded. Because it wasn't ever changed, there is no reason to save this. Below that, you'll see "skull." This is our label map, and we want to save it. Slicer's default is to place it in the Slicer program directory. But, we don't want to do this. Instead, click on the area next to "Data Directory." This brings up a new menu.
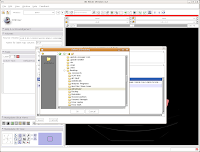
Navigate to the "ankylosaur" folder that you created previously, and select it. Hit "OK." Now, you'll see that the label map will be saved to this directory.
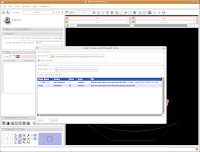
We're finally ready to save the files - so, hit the "Save" button at the bottom of the dialog box. Your computer will chug along for a few seconds, and then it's finished. The dialog box will disappear, and everything should be saved (assuming you followed the directions successfully).
Let's quit Slicer, and go enjoy a bit of your day away from the computer. Under the File menu, select Exit. The program will ask if you really want to leave (I know, you were just starting to have some fun!), and hit "Yes."
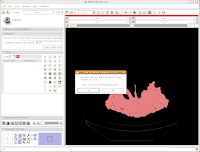
Here ends Part III of the tutorial. . .in the next post, we'll actually make a digital model of the skull!

1 comment:
I tried your tutorial about segmentation with the version 3.6.
I followed exactly as mentioned but when I clicked on "Apply" nothing happens. The pulsatile color overlay keeps on and nothing is saved. How can I proceed for creating a label map, doing a segmentation and finally creating a model. Thanks a lot.
Post a Comment